
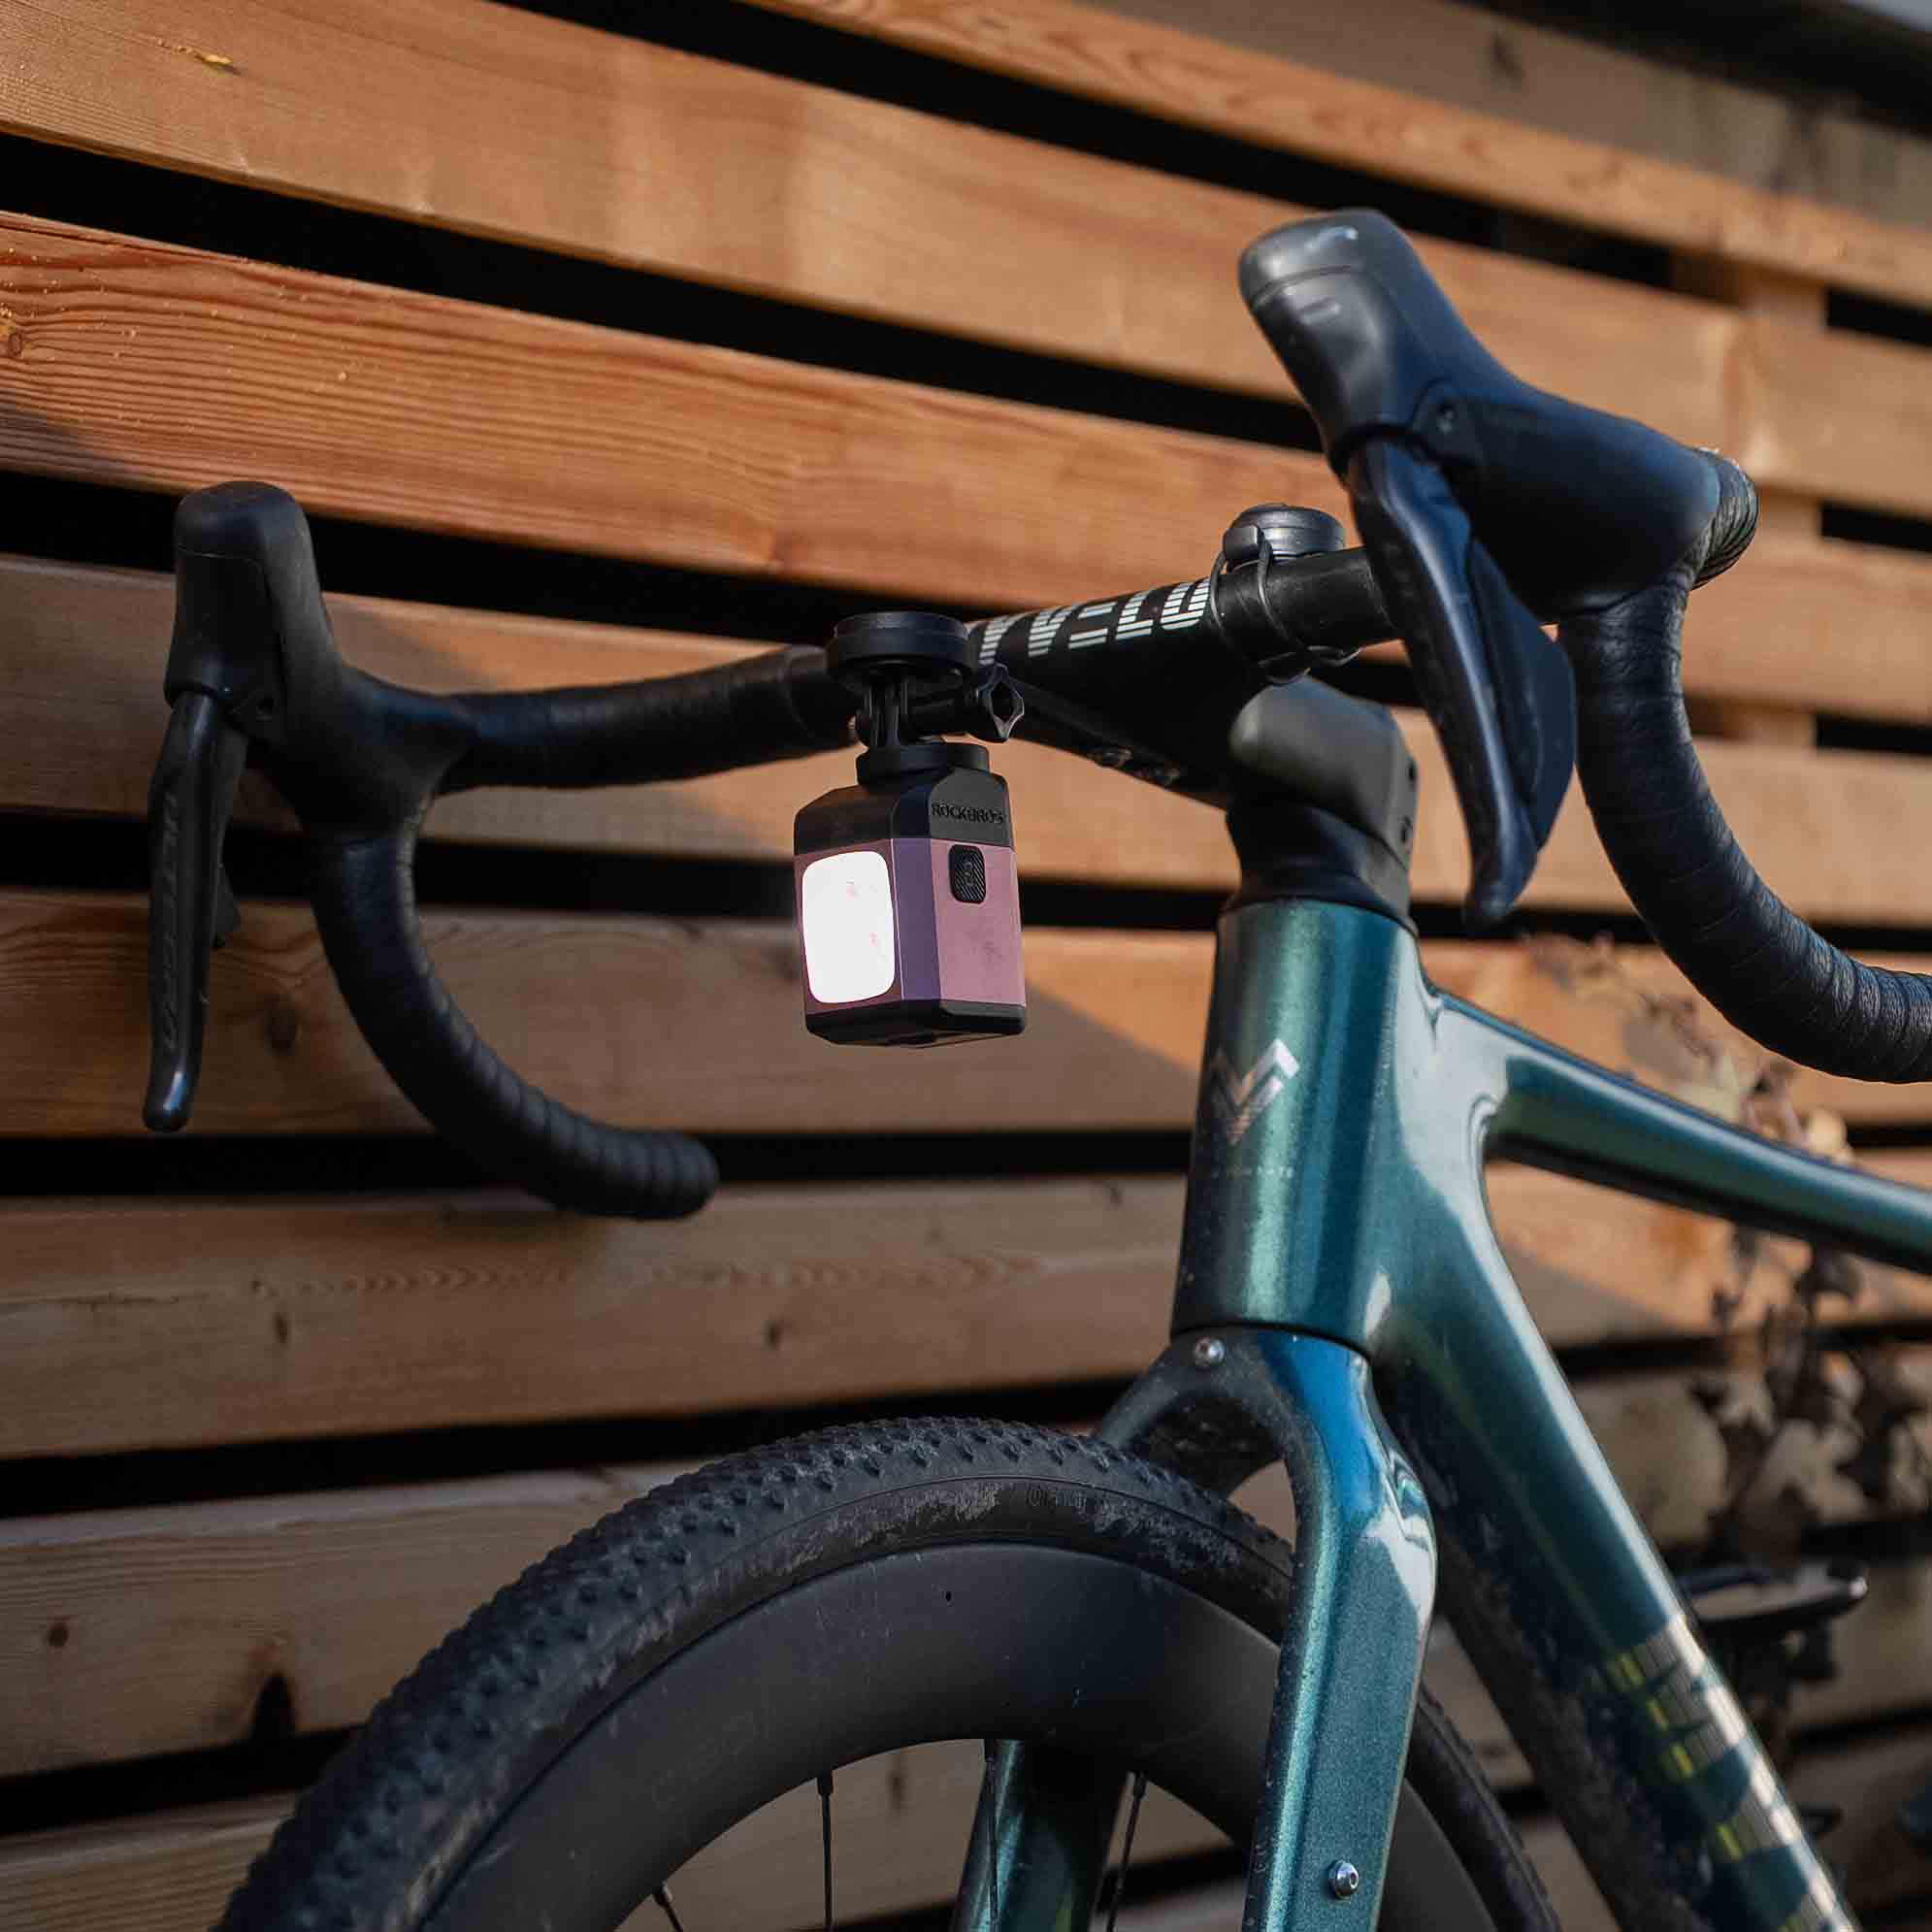

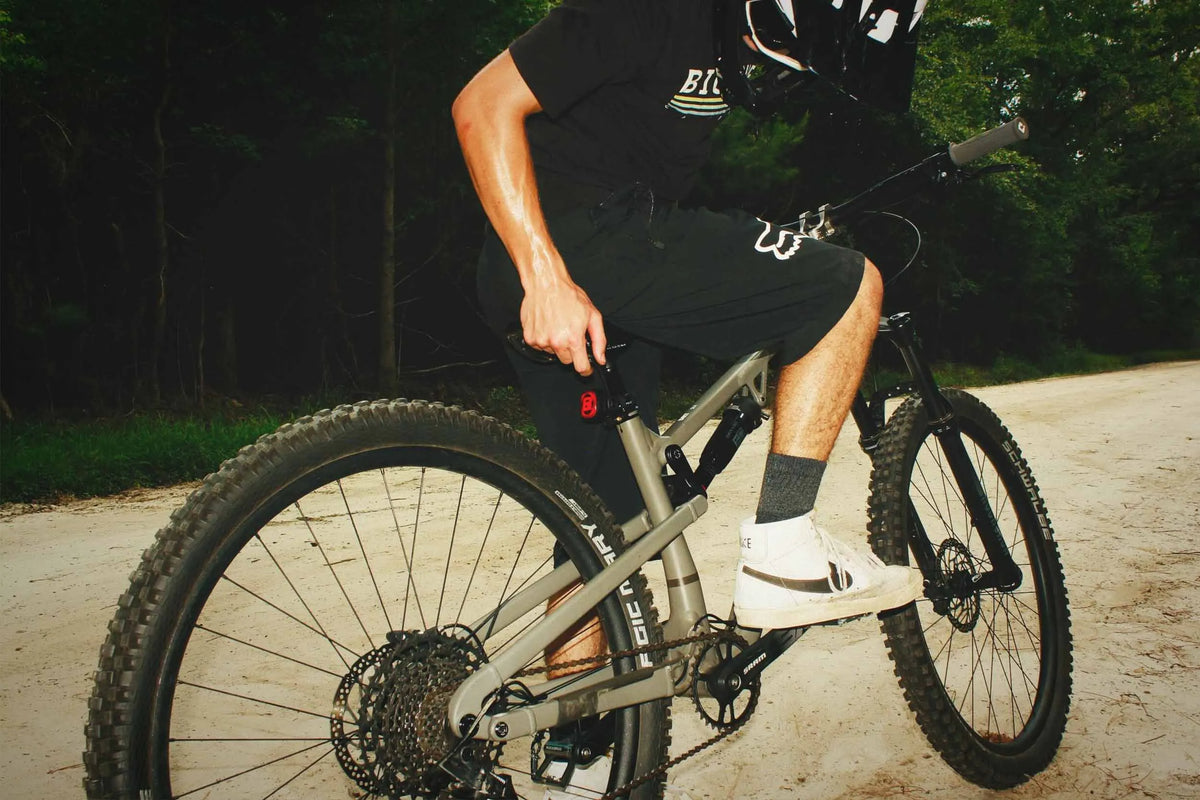
The right bike light is not always the one with the highest lumen number. A light that works well on a bright city street may feel inadequate on an unlit road, while an extremely bright light aimed too high can create glare for drivers, pedestrians, and other riders.
There is no single lumen number that works for every night ride. As practical comparison points, published cycling guidance suggests 50 to 200 lumens for a front light used mainly to be seen in urban areas, around 300 to 500 lumens for a focused road light on unlit roads, and at least 800 lumens for a main off-road trail light. These are starting points, not U.S. legal standards or guarantees. Beam pattern, aiming, runtime, weather, speed, and sustained output can matter as much as the maximum lumen rating.
This guide explains how to choose a bike light based on where and how you ride, rather than relying on the largest number printed on the package.
How Many Lumens Do You Need for a Bike Light?
For a short ride through a well-lit urban area, a lower-output front light may provide enough visibility for other road users to notice you. If you need the light to reveal potholes, debris, turns, and road edges, you will usually need more output and a well-shaped beam.
Use the following decision table to choose an output class, then compare the actual beam and runtime of the models in that class. Test the light in the conditions where you plan to use it and reduce your speed whenever visibility is limited.
| Riding environment | Practical starting point | Primary purpose | What else to check |
|---|---|---|---|
| Bright city streets | 50 to 200 lumens for a front light used mainly to be seen | Helping others notice you | Side visibility, mounting position, and flash mode rules |
| Unlit rural roads | About 300 to 500 lumens with a focused road beam | Illuminating farther ahead at riding speed | Long-distance beam shape, runtime, and glare control |
| Dark gravel routes and trails | At least 800 lumens from the main light as a starting point | Revealing uneven terrain, turns, and obstacles | Wide beam coverage, helmet-light support, runtime, and heat management |
These comparison points follow published guidance from Cycling UK and its commuter bike light guidance . They are included as practical shopping references, not as U.S. regulatory thresholds. Your actual requirement can be higher or lower.
Output categories overlap because lumen output alone does not describe what you will see. A lower-output light with a controlled, useful beam can perform better on the road than a higher-output light that scatters much of its light upward or immediately in front of the wheel.
Lighting requirements also vary by state and local jurisdiction. Review the rules that apply where you ride rather than treating any lumen recommendation as a substitute for legal compliance.

What Do Lumens Mean on a Bike Light?
Lumens describe the total amount of visible light produced by a source, as explained by the National Institute of Standards and Technology . They are useful for comparing output, but they do not tell you where that light goes, how evenly it covers the road, or how long the light maintains its claimed brightness.
Two bike lights with the same listed lumen output can look very different on the road. One may create a broad, controlled field of light, while the other produces a narrow hotspot surrounded by dark areas. Lens design, reflector shape, mounting angle, and output regulation can matter as much as the headline lumen figure.
Maximum output should therefore be treated as one specification among several. Beam pattern, runtime at the mode you will actually use, weather resistance, mount stability, and charging convenience also affect whether a light is suitable for your ride.
Do You Need a Light to See or to Be Seen?
Start by deciding what job the light must perform. A visibility light helps other people detect your presence. An illumination light helps you read the road or trail ahead. Many night rides require both functions, but the balance changes with the environment.
Lights for being seen
On streets with continuous overhead lighting, you may already be able to see the road clearly. In that setting, a front light mainly helps drivers, pedestrians, and other cyclists recognize that a bicycle is approaching. A moderate output, secure mount, and useful side visibility may matter more than a long-distance beam.
Lights for seeing the road
On dark streets, paths, and rural roads, your light must reveal surface changes early enough for you to respond. The required amount of usable light increases as speed rises because you cover more ground before you can react. A smooth beam that reaches forward is usually more helpful than an intense spot concentrated just beyond the front tire.
Lights for technical terrain
Trails add corners, roots, rocks, dips, and changes in elevation. Riders often benefit from broad handlebar illumination plus a separate helmet-mounted light that follows their line of sight. Both lights need enough runtime for the planned route, including delays and the ride home.
Bike Light Lumens by Riding Environment
Well-lit city commuting
On a route covered by streetlights, begin with a visibility-focused light. The goal is usually to make the bicycle easier to identify without producing unnecessary glare. Confirm that the light remains noticeable against storefronts, vehicle headlights, and other bright backgrounds.
City lighting is rarely consistent. Trees, parked vehicles, broken streetlights, tunnels, and side streets can create sudden dark sections. If your route includes these transitions, choose a light with a higher mode that you can activate when needed.
Mixed urban and suburban riding
For routes that alternate between streetlit areas and darker residential roads, choose adjustable output and a controlled beam. Look for more than a bright central spot. The beam should also help you see pavement edges, drainage covers, and obstacles approaching from either side.
Dark streets and shared paths
When the bike light must illuminate the way ahead, compare the useful reach and width of each beam instead of relying on the maximum lumen figure. The best setting depends on speed, path width, surface quality, and surrounding users.
Shared paths require restraint. A very bright beam directed at eye level can make it harder for an approaching rider or pedestrian to see. A controlled beam and careful aiming are essential even when the light offers a high-output mode.
Unlit rural roads
Riders on roads without streetlights need enough sustained illumination to see the lane surface and road edge far enough ahead for their speed. Compare beam reach, cutoff, and runtime, and avoid sending excessive light toward oncoming traffic.
A backup light is valuable when a single failure would leave you without useful illumination. It can also provide a lower setting if the main light needs to conserve battery power.
Gravel roads and trails
Dark, uneven terrain generally calls for high output, but coverage matters more than chasing the highest number. A wide beam helps reveal corners and obstacles near the edge of the trail, while forward reach supports faster sections.
Output needs can vary greatly with terrain and speed. Slow riding on a smooth path may need less light than a fast descent on a technical trail. If the terrain extends beyond the reach of your beam, slow down rather than relying on brightness alone.
Why Beam Pattern Matters as Much as Lumens
Beam pattern determines how a light's output is distributed. It affects distance, width, contrast, and glare, which makes it one of the most important characteristics to evaluate.
Hotspot and spill
A hotspot is the brightest part of the beam. Spill is the softer light around it. A concentrated hotspot can provide distance, but a severe contrast between the bright center and dark surroundings may make it harder to read the entire road. A balanced beam can provide more usable visibility even with a lower maximum output.
Wide and narrow beams
A wider beam helps on winding paths, intersections, and trails. A narrower beam can project farther ahead but may leave turns and road edges less visible. Choose a pattern that matches the route rather than assuming one shape works everywhere.
Controlled road beams
A road-oriented beam that limits upward light can illuminate the pavement while reducing glare for oncoming users. This is particularly useful for commuting, shared paths, and two-way roads. A powerful light without beam control must be aimed carefully and may need to run below its maximum setting around other people.
Runtime and Sustained Output
Maximum lumens often describe a light's brightest mode, not the output it will maintain for the entire ride. Some lights reduce brightness as the battery drains or as the unit warms. That means the brightest listed mode may not be the most practical everyday setting.
Compare runtime at the specific mode you expect to use. Allow a reasonable margin beyond your planned ride time for detours, stops, cold conditions, and normal battery aging. A light that lasts only as long as the ideal route leaves little room for the unexpected.
Mode spacing also matters. Useful low, medium, and high settings let you adapt to changing conditions without wasting battery power. A battery-level indicator can help you decide when to reduce output or switch to a backup.
Recharge the light before a night ride and inspect its cable, charging port, mount, and housing regularly. Follow the manufacturer's charging and storage instructions.
How to Aim a Bike Light Without Creating Glare
A front light should illuminate the route rather than shine directly into another person's eyes. Mount it securely, point the main beam toward the road, and test it from the perspective of an approaching road user.
- Place the bike on level ground and secure the light to the handlebar.
- Aim the center of the beam below eye level and toward the riding surface.
- Stand or have another person stand ahead of the bike to check for glare.
- Ride a short test route and confirm that the beam reaches far enough for your normal speed.
- Recheck the angle after moving the mount, transporting the bike, or riding over rough surfaces.
Use higher output only when the environment calls for it. If another cyclist, driver, or pedestrian is approaching, a lower mode may preserve useful road illumination while reducing discomfort. Never assume that a bright light is harmless simply because it is mounted on a bicycle.
Flashing modes can attract attention, but an intense flash may be distracting or make distance harder to judge. Rules for bicycle lights and flashing modes can differ by location, so check the law where you ride. A steady mode is generally the practical choice when you need continuous illumination of a dark road or trail.

How Bright Should a Rear Bike Light Be?
Front and rear light lumen numbers should not be compared directly. A front light may need to illuminate the road, while a rear light is primarily intended to help others detect and identify the rider.
Rear-light effectiveness depends on lens design, viewing angle, mode, mounting height, and distance as well as output. An extremely bright rear light can create glare for a cyclist or driver following at close range, especially in darkness.
Mount the rear light where it is not blocked by a jacket, saddlebag, basket, or fender. Confirm that it faces backward rather than toward the ground. If you use a flashing mode, consider switching to a steady or lower-intensity setting when riding closely with a group.
According to the National Highway Traffic Safety Administration's bicycle safety guidance , riders should use a white front light and a red rear light when riding at night. Reflective elements can add visibility, but they do not replace lights required by applicable law.
Helmet Light vs. Handlebar Light
A handlebar light should usually serve as the primary source of forward illumination. Its stable position makes it easier to maintain a consistent beam on the road.
A helmet light follows your line of sight, which can help you look through turns, inspect a trail feature, or direct attention at an intersection. It can be useful as a secondary light, particularly off-road, but it also moves whenever you turn your head and can shine into another person's eyes.
If you use both, aim the handlebar light for steady road coverage and keep the helmet light controlled around other road users. The two lights should complement each other rather than simply duplicate the same narrow beam.
For a closer comparison of integrated helmet lighting and separate bike lights, read our guide: Are Bike Helmets with Lights Really Worth It for Night Riders?
How Weather, Speed, and Road Surface Change Your Needs
Riding speed
Faster riding requires you to identify hazards farther ahead. If your normal speed is greater than the distance your light allows you to evaluate safely, use a more suitable beam or slow down.
Rain and fog
Rain reduces contrast and adds reflections from wet pavement. Fog can reflect light back toward the rider, so maximum output is not always the best solution. A controlled beam aimed toward the road may provide better visibility than a high beam directed into suspended moisture.
Road and trail surface
Smooth pavement generally requires less near-field detail than loose gravel, broken pavement, or technical trail surfaces. Uneven terrain benefits from wider, more even coverage that makes changes in texture and elevation easier to recognize.
Ambient lighting
Storefronts, streetlights, vehicle headlights, and illuminated signs can make a small bike light harder to notice. In contrast, a modest light can appear very bright on a completely dark path. Choose a mode that fits the current environment and adjust it as conditions change.
Bike Light Selection Checklist
- I know whether the light must help me see, be seen, or do both.
- The beam pattern fits my roads, paths, or trails.
- The light provides enough usable reach for my normal riding speed.
- The selected mode has enough runtime for the full ride plus a margin.
- The light offers practical brightness levels for changing conditions.
- The mount holds the light securely and allows accurate aiming.
- The beam can be directed toward the road without creating excessive glare.
- The housing and charging-port protection suit the weather I expect.
- The controls are easy to use while wearing my usual riding gloves.
- My rear light remains visible when bags, clothing, and accessories are attached.
- I have checked applicable state and local bicycle-light rules.
- I have a backup plan if the main light runs out of power or fails.

Frequently Asked Questions
Is 500 lumens enough for night cycling?
It can be, but the number alone cannot answer the question. A 500-lumen light with a controlled beam may work well on a moderately lit route, while a poorly distributed beam may leave important areas dark. Check sustained output, beam reach, road surface, speed, and the darkest part of your route.
Is 1,000 lumens too bright for a bike light?
Not necessarily. A 1,000-lumen maximum mode may be useful on a dark route, but it can create glare if the beam is poorly controlled or aimed too high. Use an appropriate setting and direct the light toward the riding surface when other road users are present.
How many lumens do I need for city commuting?
There is no universal city-commuting number. On consistently lit streets, focus on being noticeable, side visibility, and glare control. If the route includes dark sections, choose adjustable output and a beam that can illuminate the pavement as well as make the bike visible.
How many lumens do I need for an unlit road?
Choose a light that provides enough sustained reach for your speed and enough width to reveal the road edge. Maximum lumens cannot establish this by itself. Compare beam shape, cutoff, runtime, and road conditions, then test the light before relying on it for a long night ride.
How many lumens do I need for mountain biking at night?
Dark trail riding typically benefits from high output, broad coverage, and strong sustained runtime. Technical terrain and faster descents may need greater beam width and reach. Many riders use a handlebar light for broad trail coverage and a secondary helmet light for turns and line-of-sight illumination.
Should a bike light flash at night?
A flashing mode may help attract attention, but it does not provide continuous road illumination and an intense flash can distract others. A steady beam is generally more useful for seeing a dark route. Check local rules because flashing-light requirements and restrictions can vary.
Does a higher lumen number always mean a better bike light?
No. Higher output is useful only when the lens directs it where you need it and the light can sustain that output for the ride. Beam shape, runtime, mounting stability, weather resistance, controls, and glare management can be more important than the maximum lumen claim.
Do I still need reflectors if I use bike lights?
Lights and reflectors perform different functions. A light produces its own illumination, while a reflector returns light from another source. Use the equipment required by the laws where you ride, and do not treat one visibility aid as an automatic substitute for another.
Choose a Light for Your Actual Ride
The best bike light is not defined by one lumen number. It provides a useful beam for your route, maintains enough output for your ride, mounts securely, and can be aimed without creating unnecessary glare.
Begin with your environment. A commuter on bright city streets has different needs from a rider crossing unlit rural roads or navigating a dark trail. Use the riding environment to narrow your options, then compare beam pattern, runtime, mounting, controls, and weather protection before making a final choice.
ROCKBROS develops practical cycling accessories for commuters, recreational riders, and cyclists exploring after dark. When comparing bike headlights, match each model's published output, beam design, runtime, and mounting system to the conditions you expect to ride in. The right setup should help you see clearly, remain noticeable, and ride with greater confidence after sunset.

Leave a comment
This site is protected by hCaptcha and the hCaptcha Privacy Policy and Terms of Service apply.