

A good bike tail light helps other road users notice you from behind, but choosing one involves more than buying the brightest model available. Mounting position, beam visibility, light modes, battery runtime, weather resistance, and smart functions can all affect how useful the light is on your everyday rides.
For most riders, the best bike tail light is one that remains clearly visible, fits the bicycle securely, lasts longer than the planned ride, and is simple enough to use consistently. This guide explains the features that matter and how to match them to commuting, road cycling, recreational riding, and low-light conditions.
What Does a Bike Tail Light Actually Do?
A bike tail light is designed primarily to help people approaching from behind detect and recognize the cyclist. Unlike a front bike light, it is not intended to illuminate the road ahead.
The National Highway Traffic Safety Administration recommends using a white front light, a red rear light, and reflectors when riding at night or when visibility is poor. Local bicycle-lighting requirements vary, so riders should also check the rules that apply where they ride.
A rear bike light works best as part of a layered visibility setup that can include:
- A properly positioned red rear light
- A white front bike light
- Clean bicycle reflectors
- Reflective details on clothing, bags, or equipment
- Predictable riding and clear signaling
No single light can guarantee that every driver will see a cyclist. The practical goal is to make the bicycle easier to detect from relevant angles without creating unnecessary glare or confusion.
How Bright Should a Bike Tail Light Be?
Brightness matters, but lumens alone do not determine whether a tail light will be effective. A well-designed lens can distribute light across a wider viewing angle, while a poorly aimed high-output light may direct most of its light above, below, or away from approaching traffic.
When comparing rear bike lights, consider:
- Viewing angle: Can the light be seen from slightly off-center positions?
- Lens design: Does the lens spread the light or concentrate it into a narrow point?
- Mounting height: Will the light remain visible above the rear wheel and below the saddle?
- Day and night use: Does the light provide suitable modes for changing conditions?
- Glare control: Can the light be aimed without shining directly into another road user’s eyes?
A brighter setting may be useful during the day or in busy environments, while a lower or steady setting may be more comfortable for riders traveling together after dark. The best setting depends on the light, road, weather, traffic, and mounting angle.
Steady vs. Flashing Bike Tail Light Modes
Many rechargeable bike tail lights offer several patterns rather than a single brightness setting. Common options include steady, slow flash, rapid flash, breathing, and sensor-controlled modes.
Steady Mode
A steady red light gives other road users a continuous visual reference. It can be useful in consistently dark conditions because the bicycle’s position is easier to track without interruption.
Flashing Mode
A flashing pattern may attract attention, particularly in daylight, at dusk, or in visually busy environments. However, a very fast or intense flash can be distracting at close range.
Breathing or Pulsing Mode
A gradual pulsing pattern offers movement without the sharp transitions of a rapid flash. Some riders prefer it for group rides or lower-traffic routes.
Which Mode Should You Use?
There is no single setting that works best everywhere. Select a mode based on ambient light, traffic, riding distance, nearby cyclists, and the manufacturer’s instructions. If your light offers multiple modes, learn how to change them before starting the ride.

Where Should You Mount a Bike Tail Light?
A powerful rear light cannot help much if it is hidden behind a saddle bag, jacket, rack bag, basket, or rear tire. Mounting position is therefore just as important as output.
Common mounting locations include:
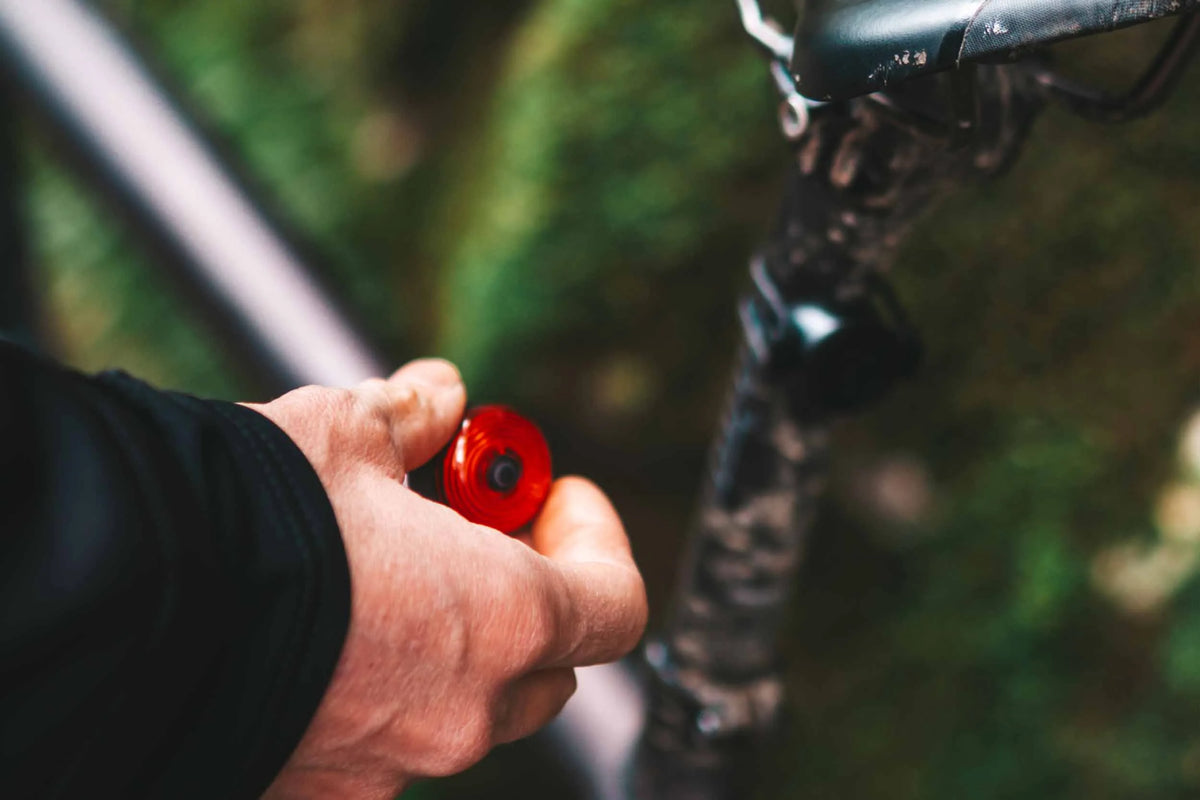
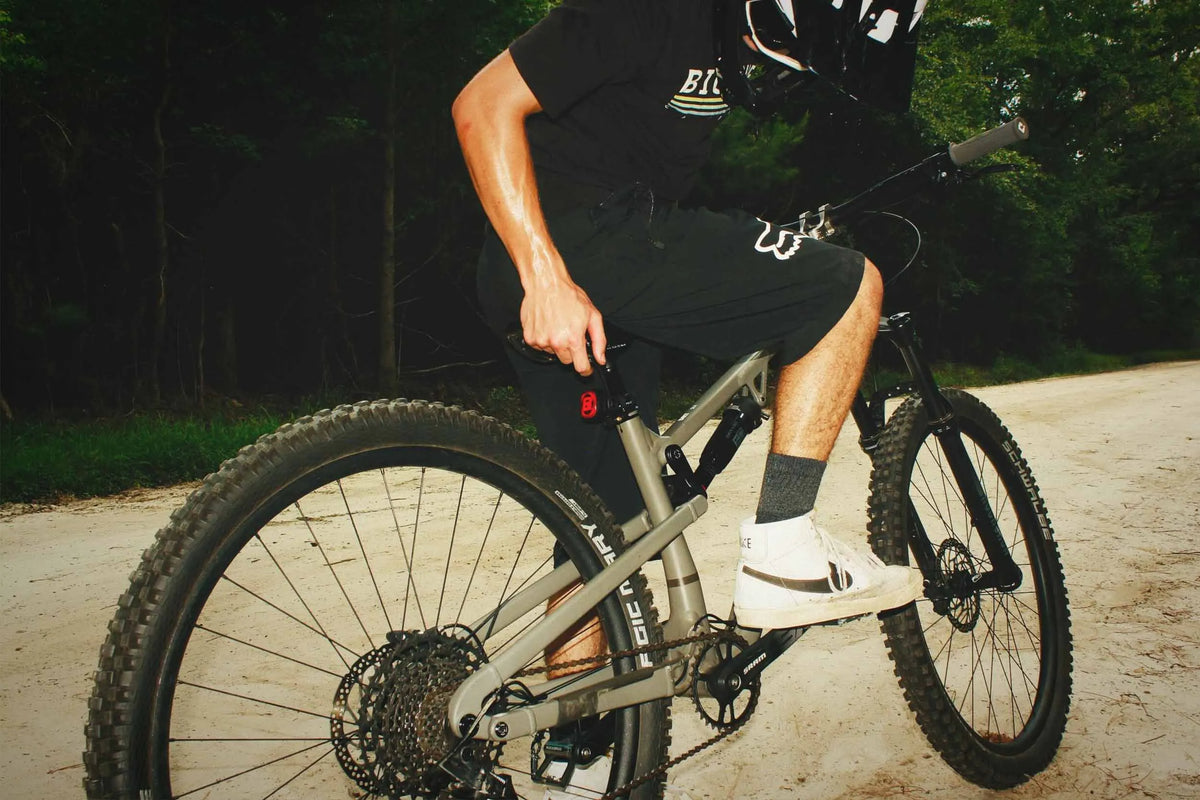
- The seatpost
- The saddle rails
- A rear rack
- A compatible saddle bag loop
- The back of a helmet, when the light is designed for helmet use
Seatpost Mounting
Seatpost mounting is easy to access and works with many bicycles. Before buying, check whether the bracket fits the shape and diameter of your seatpost. Aero seatposts may need a compatible strap or dedicated mount.
Saddle Rail Mounting
A saddle rail mount creates a clean position directly beneath the saddle. This can work well when the seatpost is short or already holds another accessory. Confirm that the saddle bag, jacket, or rear rack will not block the light.
Rear Rack Mounting
A rack-mounted light can remain visible when the seatpost is occupied by cargo. Check that the light stays upright and is not covered after loading a rack bag or panniers.
Check the Angle After Installation
After mounting the light, stand several steps behind the bicycle and confirm that the lens faces backward rather than toward the ground or sky. Repeat this check after adjusting the saddle or adding cargo.
Are Brake-Sensing Bike Tail Lights Worth It?
A brake-sensing bike tail light uses motion data to detect deceleration and temporarily change its output. The purpose is to provide an additional visual cue when the bicycle slows down.
This feature can be useful for:
- Urban commuting with frequent stops
- Group rides where cyclists follow one another
- Road rides with changes in speed
- Riders who want automatic warning functions
Brake sensing should still be treated as a supplementary feature. Sensor behavior can vary with road vibration, installation angle, braking force, and the individual product. Riders should continue slowing predictably, maintaining space, and communicating with others when needed.
Other Smart Functions
Depending on the model, a smart bike tail light may also provide:
- Automatic sleep after the bicycle stops moving
- Vibration-activated wake-up
- Ambient-light sensing
- Automatic brightness changes
- A handlebar remote
- Turn indicators
- A battery-level display
Smart functions are most valuable when they reduce daily setup without making the light confusing. A simpler light may be the better choice if you prefer direct manual control.
Battery Life and Charging
Battery runtime should comfortably exceed the length of your expected ride. Leaving some reserve is useful because cold temperatures, battery age, selected mode, and frequent high-output operation can affect how long a rechargeable light runs.
When comparing models, check:
- The stated runtime for each light mode
- Charging-port type
- Approximate charging time
- Low-battery warning or battery indicator
- Whether smart sleep modes conserve power
- Whether the light can be removed easily for charging
A long maximum runtime may refer to the lowest-output mode. Do not assume that the highest setting will last for the same amount of time.
For regular commuting, create a charging routine before the battery is completely depleted. A light that is easy to recharge is more useful than one with more functions that you regularly forget to charge.
Understanding Tail Light Weather Resistance
Rear lights are exposed to spray, dust, mud, and changing weather. An IP rating can help explain the conditions a particular product is designed to withstand, but different ratings do not mean the same thing.
For example:
- An IPX4-rated light is designed for splashing water from different directions.
- An IPX6-rated light is designed to withstand stronger water jets.
- Neither statement automatically means the product can be submerged.
Always follow the product instructions, close the charging-port cover completely, and dry the light before charging. If a product page does not provide a verified water-resistance rating, do not assume it is suitable for heavy rain.
Choose a Bike Tail Light for Your Riding Style
| Riding Situation | Features to Prioritize | Why They Matter |
|---|---|---|
| Daily commuting | Simple controls, battery indicator, secure mounting | The light needs to be reliable and easy to recharge |
| Urban night riding | Wide visibility, brake sensing, multiple modes | Traffic and lighting conditions change frequently |
| Group riding | Adjustable output and less aggressive flash modes | Excessive glare can distract riders behind you |
| Long-distance riding | Long runtime, battery indicator, efficient modes | The light must last beyond the expected ride time |
| Wet-weather commuting | Verified water resistance and protected charging port | The light may be exposed to rain and road spray |
| Bikes with bags or racks | Flexible mounting options | Cargo should not block the rear light |
Three ROCKBROS Tail Light Options to Consider
The ROCKBROS rear bike light collection includes straightforward rechargeable lights as well as models with brake sensing, automatic operation, turn indicators, and alternative mounting options. The following examples illustrate how different features suit different riders.
Q2S: A Lightweight Option for Everyday Commuting
The Q2S Smart Bike Tail Light is designed for riders who want a compact brake-sensing light without a complicated setup.
Its listed features include:
- Brake sensing and automatic on/off functions
- Four lighting modes
- Seatpost and saddle rail mounting options
- USB-C charging
- A listed 260mAh battery
- A stated runtime of approximately 7–16 hours, depending on the mode
- IPX6 water resistance
- A listed weight of approximately 23 grams
This combination makes it suitable for riders who prioritize low weight, automatic operation, and flexible installation.
Q3: Smart Sensors and a Durable Body
The Q3 Bike Tail Light combines brake, light, and vibration sensors. It is intended for riders who want the light to respond automatically to movement and surrounding light conditions.
Its listed features include:
- Brake, vibration, and ambient-light sensing
- Four lighting modes
- Seatpost and saddle rail mounting
- Tool-free installation
- Type-C charging
- IPX6 water resistance
- An aluminum-alloy and plastic body
- A listed weight of approximately 33 grams
The Q3 may make sense for commuters who want smart operation in a compact aluminum-bodied light.
Remote Turn Signals and Laser: More Rider-Controlled Functions
The Smart Bike Tail Light with Remote Turn Signals and Laser is a larger option built around rider-controlled signaling.
Its listed specifications and features include:
- Handlebar-operated left and right turn indicators
- Brake-sensitive warning functionality
- Dual laser projection
- A listed output of 80 lumens
- A 2000mAh rechargeable battery
- Up to five hours of stated continuous use
- IPX4 water resistance
- A listed weight of approximately 125 grams
This model is more appropriate for riders who value remote signaling and additional visual features over minimum size and weight. Turn indicators and laser projection should be treated as supplementary cues rather than replacements for predictable riding, required lighting, or legally required signals.

Common Bike Tail Light Mistakes
Mounting the Light Behind a Bag
Always inspect the bicycle after packing it. A saddle bag, jacket, pannier, or rack bag can block a light that was clearly visible when the bicycle was empty.
Aiming the Light Too High or Too Low
A poorly aimed light can reduce visibility or create glare. Check the angle from behind the bicycle and readjust it after moving the saddle or mount.
Using Only the Maximum Setting
The highest-output mode may drain the battery faster and may be uncomfortable for nearby riders. Select the mode that fits the environment instead of automatically choosing the brightest option.
Ignoring the Battery Until It Is Empty
Recharge the light on a predictable schedule and check its status before longer rides. Smart functions are not useful when the battery is depleted.
Assuming Every Mount Fits Every Bicycle
Round seatposts, aero seatposts, saddle rails, rear racks, and bags create different installation requirements. Confirm compatibility before choosing a light.
Relying on a Rear Light Alone
A tail light only addresses visibility from certain rearward angles. Night-riding preparation should also include a suitable front light, reflectors, predictable positioning, and awareness of local requirements.
Final Bike Tail Light Buying Checklist
Before choosing a rear bike light, ask:
- Where will I mount it?
- Will bags, clothing, or racks block the lens?
- Does the bracket fit my seatpost or saddle rails?
- Do I need manual controls or automatic sensors?
- Would brake sensing be useful for my riding environment?
- Which steady or flashing modes will I realistically use?
- Does the stated runtime exceed my normal ride length?
- Can I check the battery level easily?
- Is its water-resistance rating appropriate for my conditions?
- Can I remove and recharge the light conveniently?
Choose the Tail Light You Will Use Consistently
The best bike tail light is not automatically the model with the most modes or smart functions. It is the light that fits your bicycle, stays visible after you add your normal gear, provides enough runtime for your rides, and is easy to charge and operate consistently.
A lightweight brake-sensing light may suit a daily commuter, while a sensor-equipped model may appeal to riders who want more automatic operation. Riders who need remote-controlled turn indicators may prefer a larger multifunctional design.
Start with your mounting position and riding environment, then compare the features that solve a real need. That approach makes it easier to choose a rear light that becomes part of every ride instead of another accessory left at home.

Leave a comment
This site is protected by hCaptcha and the hCaptcha Privacy Policy and Terms of Service apply.